
Last updated October 16, 2026
 Wrought iron
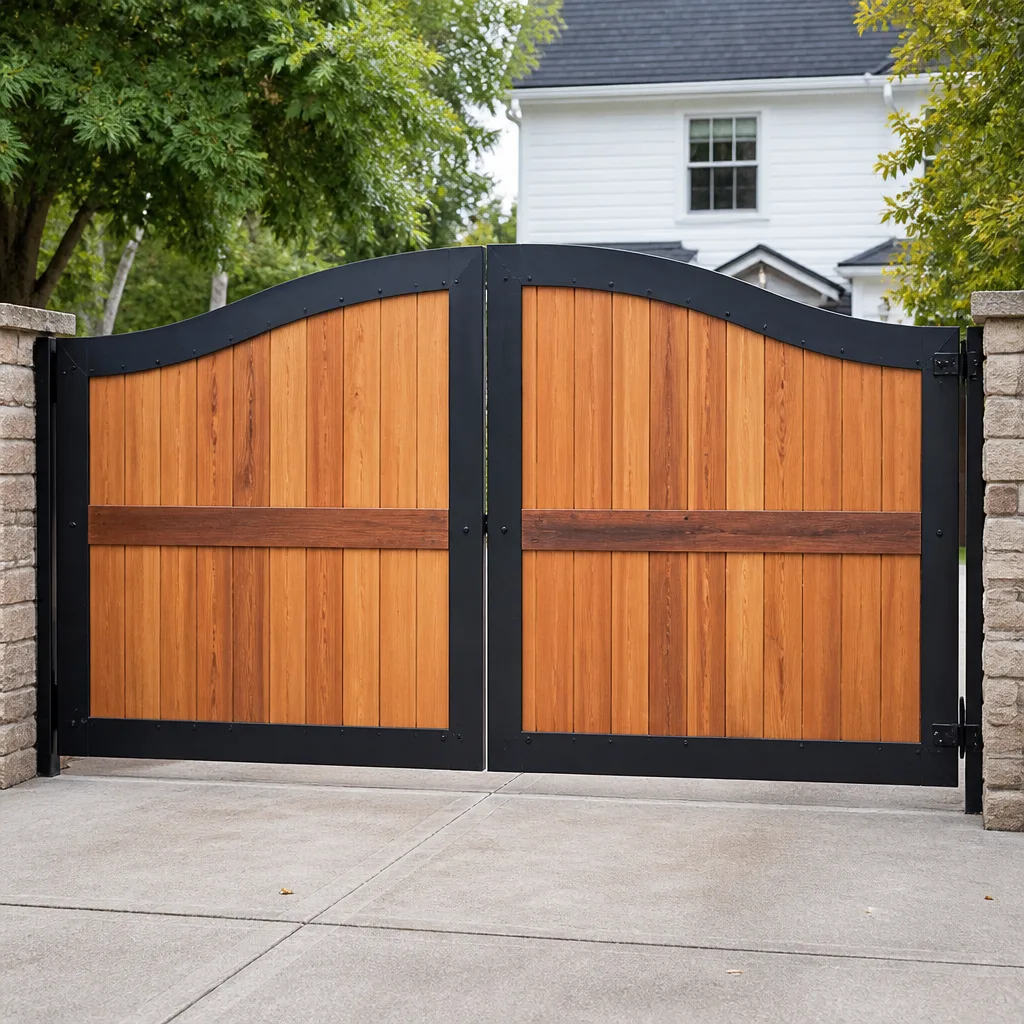 Wood & steel frame
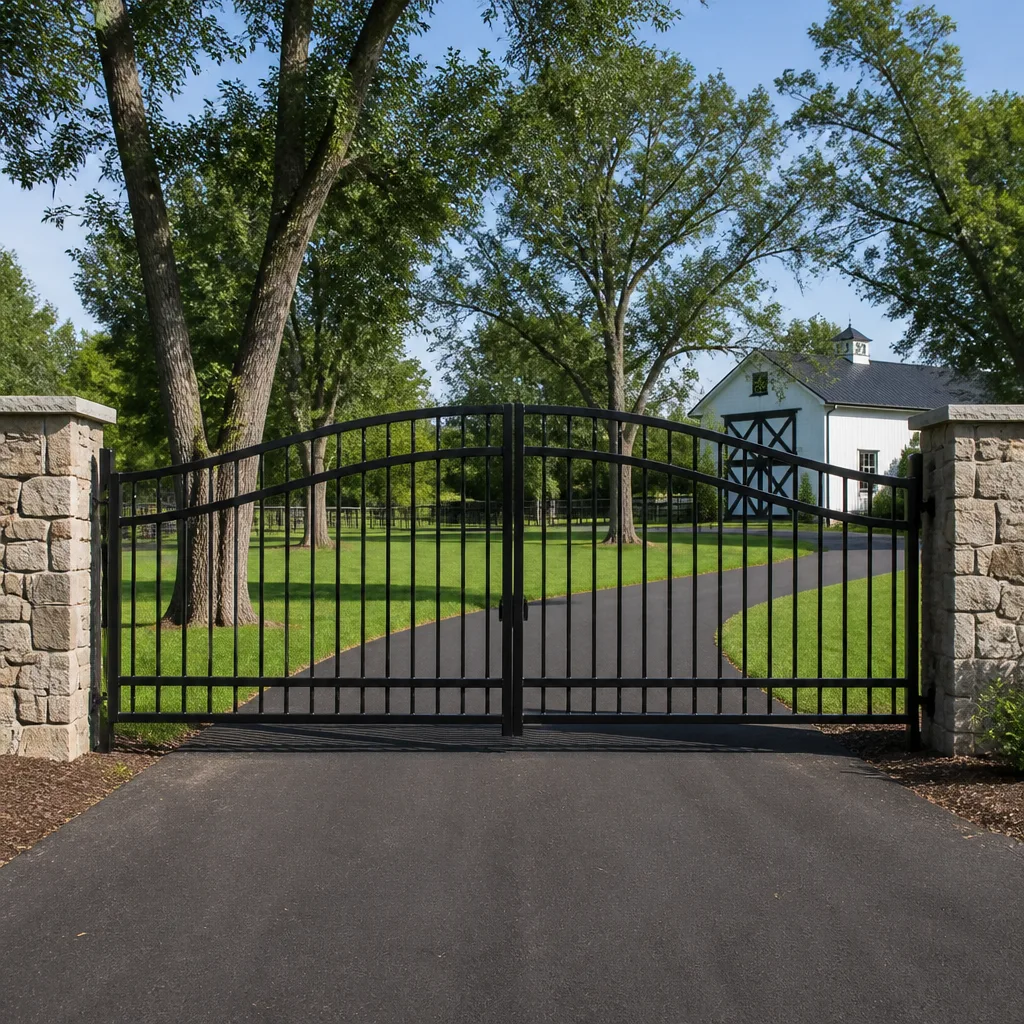 Farm & ranch
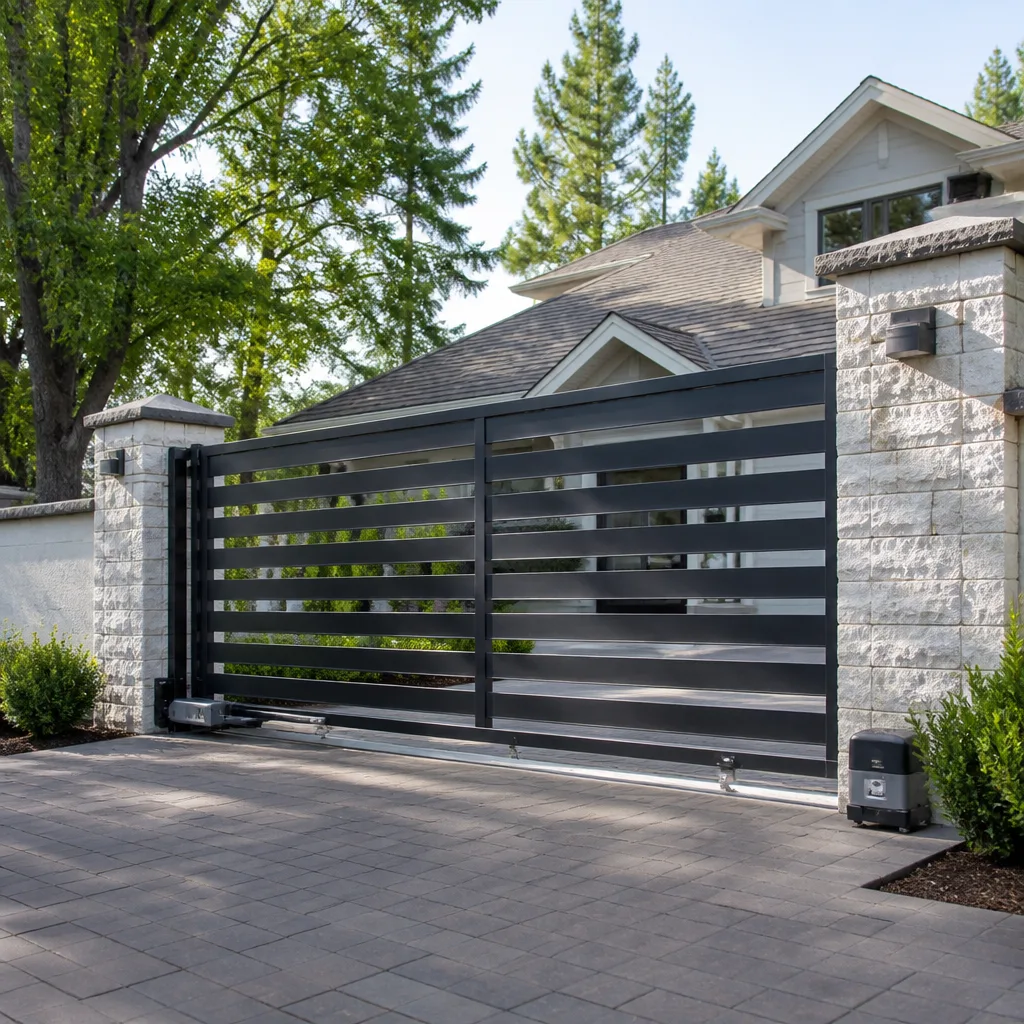 Sliding driveway gates
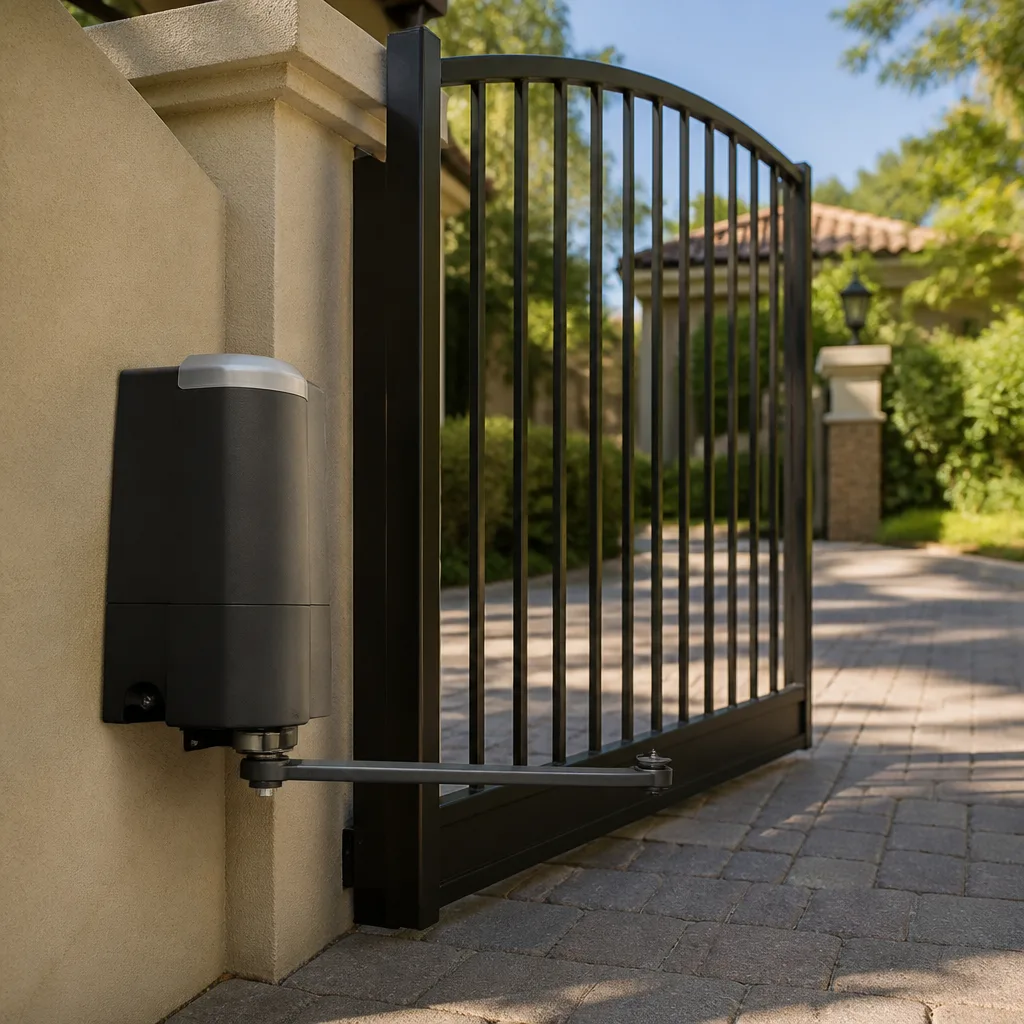 LiftMaster operators
Free on-site gate assessment - hinges, posts, and your LiftMaster or Nice gate operator checked before anything is quoted
The assessment is free and the quote is the invoice.
Get your free estimateDIY vs Professional Gate Repair: The Tampa Homeowner’s Decision Guide
Replacing a gate’s battery backup or reprogramming a remote is a legitimate DIY task. Adjusting limit switches on a high-cycle motor without understanding the torque feedback loop has put gates through garage doors in Tampa, and homeowner’s insurance denied the claim because the repair was self-performed without documentation. This guide draws the line at the component level: which repairs have a defined ceiling on what goes wrong, and which ones carry consequences that extend beyond the gate itself. You’ll learn what’s safe to tackle, what creates liability exposure in Florida specifically, and how to compare the true cost of doing it yourself versus hiring a Gate Repair services professional in Tampa.
Styles & brands we work with
Quick Answer
Most Tampa homeowners can safely handle three gate repairs themselves: replacing remote batteries, reprogramming a standard remote using the brand’s published procedure, and replacing a photo-eye sensor that mounts with two screws and a plug-in connector. Pull the plug on any repair involving torsion springs, limit-switch adjustment on swing or slide operators, capacitor replacement, or any wiring that connects to your home’s electrical panel. Those jobs carry injury risk, property-damage risk, and in Florida, specific liability exposure that most homeowners don’t discover until a claim is denied.
Table of Contents
- The Component Line: Where DIY Ends and Professional Work Begins
- The Three Repairs That Are Safe DIY Territory (and the Tools You Need)
- Florida-Specific Liability: What Self-Performed Repairs Can Cost You
- How to Evaluate a YouTube Gate Repair Tutorial Before Touching Anything
- The Documentation Gap: What a Professional Repair Produces That Yours Can’t
- The Honest Cost Comparison: DIY Error Cost vs. Professional Error Cost
- Tampa-Specific Factors: Salt Air, Lightning, and Hurricanes
- When to Call a Professional
The Component Line: Where DIY Ends and Professional Work Begins
Most gate repair advice online treats the gate as one object: either you can fix it yourself or you can’t. That’s the wrong frame. A gate is a system of components, and each component has its own risk profile. The useful question is not “Can I fix my gate?” It’s “Can I fix this specific part of my gate without creating a bigger problem?”
Here’s the component line as we draw it in Tampa, based on what we see in the field:
Clear DIY Territory (Low Risk Ceiling)
- Remote control batteries: The failure mode is the remote doesn’t work. That’s the entire ceiling.
- Remote reprogramming: If you have the exact model number and follow the manufacturer’s published sequence, the worst case is the remote still doesn’t work and you call someone.
- Photo-eye sensor alignment or replacement: Plug-in connectors, two mounting screws, and a clear line-of-sight test. If it doesn’t fix the problem, the gate simply won’t close automatically, which is a safe failure.
- Track cleaning and debris removal on slide gates: Clear the rail, lubricate the wheels with a dry silicone spray, and you’re done. No electrical work, no stored energy, no structural risk.
Professional Territory (High or Unbounded Risk Ceiling)
- Limit switch adjustment: The limit switch tells the motor where to stop. Set it wrong and the gate pushes past its stop into a wall, a car, or a person. On a swing gate with an articulating arm, an over-travel of three inches at the operator translates to significantly more travel at the gate leaf.
- Capacitor replacement: Capacitors store electrical charge even after the power is disconnected. The wrong handling discharges that charge through you.
- Torsion spring work on any gate or opener assembly: These springs hold thousands of pounds of tension. The release of that tension is not controllable without the right winding bars and procedure.
- Any repair that requires opening the motor housing: Inside the housing you’ll find the control board, possibly the capacitor, and the drive train. Every one of those carries electrical or mechanical risk.
- Post or hinge structural repair: A gate post that has shifted or rotted changes the entire geometry of the gate. Welding, concrete work, and alignment are involved, and a gate that falls carries enough weight to seriously injure someone.
We’ve seen the result of a homeowner taking on limit-switch adjustment in the Westchase area. The gate over-traveled through the garage door, and the repair bill for the gate plus the garage door was north of $4,000. The insurance claim was denied. That’s the component line in practice. If you’re uncertain which side of the line a specific repair falls on, our Gate Repair in Tampa page breaks down the common failures by symptom.
The Three Repairs That Are Safe DIY Territory (and the Tools You Need)
If you’re mechanically competent and comfortable with basic tools, these three repairs are reasonable to do yourself. What makes them safe is that their failure ceiling is defined: the worst outcome is that the repair doesn’t work and you call a professional. No injury risk, no property-damage risk, no liability exposure.
1. Replacing a remote’s battery
- Open the remote case with a small Phillips screwdriver or a plastic pry tool. Most cases have a visible seam.
- Read the battery number off the old battery, usually a CR2032, A23, or 27A. Match it exactly.
- Install the new battery with the correct polarity. The positive side is marked with a plus sign on the battery.
- Test the remote at the gate before you close the case back up.
Tool requirement: one small Phillips screwdriver or plastic pry tool. Cost: $3 to $8. Ten minutes total. If the remote still doesn’t work after a new battery, the remote itself or the receiver board is the problem, which is a diagnosis and replacement job, not a battery job.
2. Reprogramming a standard remote
Every gate motor brand has a published programming sequence. Linear, Viking, DoorKing, and Ghost Controls all publish theirs in the owner’s manual, and most are available as PDFs from the manufacturer’s website. The key variable is matching the sequence to your exact motor model number, not just the brand.
- Find the model number on the motor or control board. It’s on a silver or white label, not just the brand name.
- Download the manual from the manufacturer’s site using that model number.
- Follow the programming sequence exactly as written. Most involve pressing a learn button on the control board, then holding a button on the remote within a short window.
- Test from the distance and angle where you normally use the remote, not just standing at the motor.
The failure ceiling here is completing the sequence wrong and having to call for a Gate Motor Repair in Tampa visit. You won’t damage the board by attempting a standard remote programming on a Linear, DoorKing, or Ghost Controls unit. We can’t say that for every brand, but for those three specifically, a failed programming attempt doesn’t scramble the existing remotes.
3. Photo-eye sensor replacement
The photo-eye is the safety sensor that tells the gate to stop and reverse if something breaks the beam while the gate is closing. Most residential gate photo-eyes are two-wire or plug-in connector devices mounted on brackets at the gate opening. Replacing a failing one is usually straightforward:
- Power down the gate motor at its dedicated disconnect switch or breaker. Don’t skip this step even though the sensor itself is low voltage. The control board you’re working near is not.
- Remove the old sensor from its bracket, noting which wire goes to which terminal before you disconnect anything. Take a photo.
- Install the new sensor on the same bracket, reconnect the wires to the same terminals, and restore power.
- Test by closing the gate and breaking the beam with your hand. The gate should stop and reverse immediately. If it doesn’t, the alignment or the wiring is off, and that’s the point to stop and call.
Tools: Phillips screwdriver, wire strippers, a phone camera. Cost: $25 to $60 for the sensor itself. The failure ceiling is the sensor doesn’t work and you call someone. That’s acceptable DIY risk for a mechanically competent homeowner. What’s not acceptable is bypassing the sensor to keep the gate working: that removes a safety device and creates the liability scenario covered in the next section.
Florida-Specific Liability: What Self-Performed Repairs Can Cost You
Florida treats gate safety differently than most states. The relevant law is the Florida Building Code’s requirement that automatic vehicular gates comply with UL 325, the national safety standard for gate operators. UL 325 mandates specific entrapment protection devices: photo-eyes, contact edges, or both, depending on the operator type and installation date. A gate that lacks functioning entrapment protection is a code violation, and more importantly, it’s a known hazard.
Here’s what that means for the homeowner who does their own repair work:
Insurance exposure is real and documented. If a gate repair is self-performed and the gate later injures someone or damages property, the homeowner’s insurance company will investigate whether the repair compromised the gate’s safety systems. Bypassing a photo-eye, disconnecting a contact edge, or adjusting a limit switch so the gate over-travels are all discoverable findings. Insurance policies contain provisions for liability arising from negligent maintenance or modification. A denied claim means the homeowner pays the medical bills, the property damage, and their own legal defense out of pocket. This isn’t a hypothetical. We’ve heard the denial letters read over the phone by homeowners in New Tampa and Carrollwood.
Resale disclosure is mandatory. Florida’s seller disclosure requirements cover known defects that materially affect the value of the property. A gate with a bypassed safety sensor or a jury-rigged motor is a known defect. If the seller doesn’t disclose it and the buyer discovers it after closing, the seller has exposure. That disclosure obligation doesn’t go away just because the seller did the work themselves and didn’t think it was a problem.
Permit exposure for structural work. If a homeowner repairs or replaces a gate post, hinge, or foundation and that work alters the gate’s operation, some Tampa-area municipalities may require a permit, depending on the scope and the location of the gate relative to the property line and the right-of-way. Self-performed structural work without a permit is discoverable during a future sale or a code enforcement action.
The point isn’t that all DIY gate work creates liability. Replacing a remote battery creates none. The point is that specific component repairs, the ones involving safety devices, stored energy, or structural elements, create liability exposure in Florida that doesn’t exist in the same way in other states. Before taking on any repair that touches a safety sensor, a spring, an operator arm, or a post, ask yourself: if this gate hurts someone next month, can I show what I did and why it was done correctly? If the answer is no, that’s the signal to call a professional.
How to Evaluate a YouTube Gate Repair Tutorial Before Touching Anything
There’s a lot of gate repair content on YouTube, and for more guides & resources, our blog covers similar topics with Tampa-specific detail. Some of it is produced by working technicians who know what they’re doing. Some of it is produced by homeowners who got lucky once and decided to record the process. The two look similar at first glance. Here’s how to tell them apart:
1. Check the tutorial against your exact motor model number.
This is the first filter. Your Viking operator may be a Viking G-5, an E-5, or a K-2, and the wiring and adjustments differ between models. A tutorial that says “Viking gate repair” without specifying the model is a general overview, not a procedure you should follow. A tutorial that shows the same model number as your motor is worth watching. The model number is on the label on the control board or the side of the motor housing.
2. Look for the safety interruption.
A legitimate technician will tell you to disconnect power and lock out the circuit before opening the motor housing. If a tutorial jumps straight into working on a live board, close it. That tells you the person doesn’t work on gates professionally, because professionals don’t work live unless a specific diagnostic requires it, and they say so when they do.
3. Check the over-travel warning.
Any tutorial on limit-switch adjustment should explicitly warn you about over-travel, which is the gate moving past its stop point and damaging property or injuring a person. If the tutorial doesn’t mention over-travel risk, the creator doesn’t understand the adjustment they’re demonstrating.
4. Compare at least two independent tutorials.
Watch two different creators do the same repair on the same model. If they match, you have a reliable procedure. If they diverge on wiring colors or adjustment order, you don’t know which one is right, and following the wrong one can damage a control board, which is a $300 to $600 mistake on most operator brands, including Linear and DoorKing.
5. Look for the tool-up sell.
Some tutorial creators are selling a specific tool or kit. Nothing wrong with that if the tool is genuinely required, but be skeptical if the tutorial claims you need a $200 specialty tool to do a job that a Phillips screwdriver handles. The reputable technician tutorials list standard tools: a voltmeter, screwdrivers, a socket set, wire strippers, and sometimes a specific winding bar for torsion work. If the tool list looks like a shopping cart, the tutorial is a commercial, not an education.
The practical approach is to treat any tutorial as a confirmation source, not a primary source. The primary source is always the manufacturer’s manual for your exact model. If the tutorial and the manual conflict, the manual wins. If you can’t find a manual, that’s a signal you’re about to improvise, and improvisation on a gate motor is where the expensive mistakes happen.
The Documentation Gap: What a Professional Repair Produces That Yours Can’t
When a licensed gate repair company completes a job, you walk away with a written invoice that describes the work, the parts used, the date of service, and the warranty terms. That document is evidence. It proves the repair was performed by a qualified party, that the components used were correct for the system, and that the work carries a written guarantee. That documentation matters in three specific situations:
Warranty preservation. If your gate motor is under manufacturer warranty, self-performed repairs can void it. Most operator warranty terms require installation and repair by qualified personnel. Your repair generates no documentation that satisfies a warranty claim, and if the motor fails later and the manufacturer sees evidence of self-service, the claim will likely be declined. A professional repair invoice, by contrast, supports the warranty claim.
Insurance claims. We covered this in the liability section, but the positive framing is worth stating: a documented professional repair is what an insurance adjuster wants to see when a gate-related claim is filed. The invoice shows the gate was maintained to standard. Self-repair generates no such evidence, which is why insurers look more closely at claims involving self-maintained gates.
Resale. A home with a gate that has documented professional service history sells more cleanly than one with a gate that has been through unnamed modifications. If a buyer asks “Who serviced this gate?”, a stack of Carver invoices with the dates, parts, and warranty terms is a seller’s answer. A confident seller who says “I did it myself” is a buyer’s reason to negotiate or walk.
This is one reason we put The Garrison Standard on paper. Every repair from Carver Gate Repair Tampa includes a written price before work starts, a written guarantee good for a full year, and a documented service record. That documentation is not an upsell. It’s the part of the repair that protects you after we leave. For reference on how repair documentation fits into the broader scope of gate service, our Carver Gate Repair Tampa home page details the standard we work to on every job.
The Honest Cost Comparison: DIY Error Cost vs. Professional Error Cost
Most DIY cost comparisons are dishonest in the same way. They compare the cost of parts at retail against the cost of professional labor, and they conclude the DIY route saves money. What they leave out is the cost of an error, and who absorbs that cost. That’s the number that actually decides the comparison.
Here’s the honest version, based on current Tampa market pricing for common gate repairs:
| Repair | Typical DIY Parts Cost | Typical Professional Cost in Tampa | DIY Error Cost (What Goes Wrong) | Professional Error Cost (Who Pays) |
|---|---|---|---|---|
| Remote battery replacement | $3 to $8 | $15 to $40 (service call plus part) | None. The ceiling is a dead remote. | Absorbed by the provider. Door re-visit or credit. |
| Photo-eye sensor replacement | $25 to $60 | $150 to $250 | Low. A misaligned sensor means the gate won’t close. You’re out the sensor cost and you still need a pro. | Absorbed by the provider under the guarantee. Free return visit. |
| Remote reprogramming | $0 (if manual available) | $75 to $150 | Low. A failed programming attempt doesn’t damage the board on most brands. | Absorbed by the provider. Reprogramming is typically included in the service. |
| Limit switch adjustment | $0 (DIY attempt) | $175 to $350 | High. Over-travel can put a gate through a garage door, a car, or a fence. $1,000 to $5,000+ in collateral damage, plus possible injury liability. | Absorbed by the provider, including the damage if the provider set it wrong. That’s what professional liability insurance and the written guarantee are for. |
| Control board replacement | $250 to $500 (board only, retail) | $400 to $800 (board, labor, testing) | High. Installing the wrong board version or mismatching wiring fries the new board. You eat the second board at full retail. | Absorbed by the provider. If the provider installs a faulty board, the replacement board and labor are covered under the guarantee. |
| Torsion spring replacement | $80 to $150 (spring only) | $300 to $600 | Very high. A spring under tension can cause serious injury. Medical bills dwarf the savings. | Absorbed by the provider. The risk is on the provider’s labor and liability coverage. |
The pattern is clear. On the left side of the table, the DIY savings are real and the error cost is trivial. On the right side, the DIY savings are small relative to the error cost, and the professional route puts the error cost on the provider’s insurance and guarantee, not on you. The honest comparison isn’t “DIY saves money.” It’s “DIY saves money on the repairs with a low error ceiling, and risks more than it saves on the repairs with a high error ceiling.” A professional repair on a limit switch costs $350 on the high end. A DIY limit-switch error costs $2,000 on a good day. That’s the number the generic DIY advice never shows you.
One more cost variable: the professional quote should be fixed before work starts. If a provider gives you a price and then tries to move it once the job is open, the quote wasn’t real. The standard we hold to is a written price delivered before any work begins, and that number does not move at the door. If you’re comparing providers in Tampa, ask the question directly: “Is this price written and fixed before you start?” The answer tells you whether the comparison is real. For a full look at what gate repair should involve at each stage of a service call, see our Gate Installation in Tampa guide, which covers the standards we apply to every job from quote to closeout.
Tampa-Specific Factors: Salt Air, Lightning, and Hurricanes
Tampa is not a neutral environment for gate equipment. The climate and geography impose specific failure modes that DIY guides written for a national audience don’t address. Here’s what you’re up against in this specific market:
Salt air and metal fatigue. Homes within a few miles of Tampa Bay, including South Tampa, Davis Islands, and the Bayshore corridor, deal with salt-laden air that accelerates corrosion on gate hardware. Hinges rust faster. Operator arms develop surface corrosion that weakens them over time. Control board connections oxidize. A DIY repair that doesn’t address corrosion is a temporary patch. The professional approach includes cleaning and sealing connections, replacing fasteners with corrosion-resistant equivalents, and lubricating with marine-grade product where appropriate.
Lightning exposure. Tampa is in the highest lightning-frequency zone in the United States. The storm corridor from the Gulf through the bay means gate control boards in this market take surge and near-strike damage more often than in most of the country. A control board that fails after a storm is usually a surge casualty, not a wear failure. DIY diagnosis of a storm-damaged board is difficult without test equipment, and replacing a board without addressing the surge protection that failed means you’ll replace the board again after the next storm.
Hurricane cycle. Gate prep before a hurricane event, and repair after one, follows a different logic than normal maintenance. Swing gates need secure latching or removal depending on the wind exposure. Slide gates need the rail cleared and the gate pinned if the forecast storm surge or wind load exceeds the design limits. The hurricane cycle also drives a seasonal pattern in Tampa gate work: the weeks before storm season see a spike in motor failures, hinge failures, and safety-sensor replacements, as gates that limped through winter finally get exercised after spring storms.
These factors don’t change the component line we drew earlier. They reinforce it. The same logic applies to any repair, but the margin for error is smaller in a market where the gate is more likely to encounter salt, surge, and hurricane-force conditions within a year of your repair. If you do your own photo-eye work, the stakes are still low. If you do your own limit-switch work on a gate that will face 90-mph winds in September, the stakes are higher than a national DIY guide would ever tell you.
Common Mistakes to Avoid
- Bypassing a photo-eye or contact edge to “get the gate working again.” This restores function by removing the safety system. In Florida, that’s a code violation and the foundation of a denied insurance claim if the gate later injures someone. No working gate is worth that exposure.
- Adjusting limit switches without understanding over-travel. Over-travel means the gate moves past its intended stop point. On a swing gate with an articulating arm, three inches of over-travel at the operator translates to a lot more at the leaf. In Tampa, we’ve seen over-travel gates hit cars, garage doors, and fencing. The insurance conversation after that is not pleasant.
- Using a YouTube tutorial for the wrong model number. A Viking G-5 and a Viking E-5 share a brand name but not a wiring scheme. Following the wrong tutorial can fry a control board, and you eat that board at $250 to $500. Match the tutorial to your exact model number or don’t follow it.
- Skipping the power disconnect. Opening a motor housing without disconnecting power is how shorts happen and how capacitors discharge through the person holding the screwdriver. The control board doesn’t need to be live for most repairs, so don’t work on it live.
- Assuming a storm-damaged board just needs a board swap. If you replace a board without addressing the surge entry point, you’ll replace the board again after the next Tampa lightning event. Surge protection is part of the repair, not an upsell.
- Using WD-40 on gate hardware. WD-40 is a solvent, not a lubricant. It cleans, then it dries, and the surface rusts faster afterward. Use dry silicone on electronics and wheels, and lithium or marine-grade grease on hinges and chains. This is a cheap mistake to avoid and an expensive one to make repeatedly in salt air.
- Ignoring the gate post while fixing the gate leaf. If the gate is sagging or binding, the problem is often the post, not the leaf or the motor. Adjusting the motor to compensate for a failing post damages the motor and doesn’t fix the gate. Post work is structural work, and structural work is professional territory.
When to Call a Professional
The decision comes down to three questions. Does this repair touch a safety device? Does it involve stored energy, live electrical work, or structural components? Does getting it wrong create a cost I’ll have to absorb myself? If the answer to any of those is yes, the professional route is the rational choice, not the cautious one. Specific triggers that should have you dialing: the gate over-travels or doesn’t stop where it should, the motor hums but doesn’t move, the gate reverses without anything in its path, a spring or cable shows visible damage, a post has shifted or cracked, or you’ve hit the same symptom twice after your own repair. These are diagnosis jobs, and diagnosis is where a trained eye saves you money. For a deeper look at what to expect, see our Gate Repair Cost Breakdown: The Tampa Homeowner’s Reference for 2026. Carver Gate Repair Tampa offers free estimates throughout Tampa, including South Tampa, New Tampa, Carrollwood, Westchase, and the surrounding area. Call (850) 533-8293 and a live person answers, day or night.
Frequently Asked Questions
You can safely replace remote batteries, reprogram a standard remote using your exact model number’s published sequence, and replace a photo-eye sensor that mounts with two screws and a plug-in connector. These three have defined failure ceilings, meaning the worst outcome is that the repair doesn’t work and you call a professional. Stop short of anything involving springs, limit switches, capacitors, or wiring tied to your electrical panel. For help diagnosing which side of the line a specific symptom falls on, check our Gate Repair Maintenance Checklist for Tampa Homeowners or call Carver Gate Repair Tampa at (850) 533-8293 for a free consultation.
Gate repair in Tampa typically runs $150 to $600 depending on the component. Simple jobs like photo-eye replacement land at $150 to $250, limit-switch adjustments run $175 to $350, and control board replacement ranges $400 to $800 with the board included. The price should be written and fixed before work starts, which is the standard we work to on every job. Call (850) 533-8293 and we’ll give you a written price before any work begins, with no charge for the estimate.
It can create the conditions for a denied claim, yes. If a self-performed repair compromises a safety system, like bypassing a photo-eye or misadjusting a limit switch, and the gate later injures someone or damages property, the insurance investigation will look at the repair. Without documentation showing the work was performed correctly, the claim can be declined. A professional repair produces a written invoice and service record that supports your position in a claim. That documentation gap is one of the least-discussed costs of DIY gate work.
Most component-level repairs, like motor work, sensor replacement, and remote programming, do not require a permit. Structural modifications, including post replacement, foundation work, or anything that changes the gate’s operation in a way that affects the right-of-way or property line, may require a permit depending on the scope and the specific municipality in the Tampa area. The practical rule is that if the repair involves concrete, welding, or moving the gate’s footprint, check before you dig or cut.
The most common cause is surge damage to the control board, and Tampa’s lightning frequency makes this a regular occurrence. A near-strike or a surge through the power line can take out the board without leaving any visible damage. Replacing the board without adding proper surge protection means the next storm takes out the new board too. That’s why professional storm repairs in this market include surge protection as part of the job, not an add-on.
Our technicians are trained on nine gate motor brands, including Linear, Viking, Ghost Controls, and DoorKing, along with LiftMaster, FAAC, BFT, Elite, and Mighty Mule. If your motor is one of those brands, the right parts and the right diagnostic approach are already in our standard procedure. If it’s not, call (850) 533-8293 and we’ll tell you up front whether we can service it. There’s no charge for asking, and a live person answers the phone.
The Bottom Line
The DIY-versus-professional decision on gate repair isn’t about your skill level. It’s about the component in front of you. Remote batteries, standard reprogramming, and photo-eye swaps are reasonable DIY work with low, defined error ceilings. Limit switches, springs, capacitors, and structural work carry error ceilings high enough that the savings don’t justify the risk, and in Florida, the liability exposure is real and specific. The documentation a professional provides, the written price, and the written guarantee aren’t conveniences; they’re the part of the repair that protects you after the gate is working. In Tampa, where salt, lightning, and hurricanes push gates to their limits, the margin for error is smaller than the national guides assume. When the repair crosses the component line, call a professional. When it doesn’t, do the small job right and keep the gate running.
Written by Lonnie Burke, Owner at Carver Gate Repair Tampa, serving Tampa since 2008.
See the difference
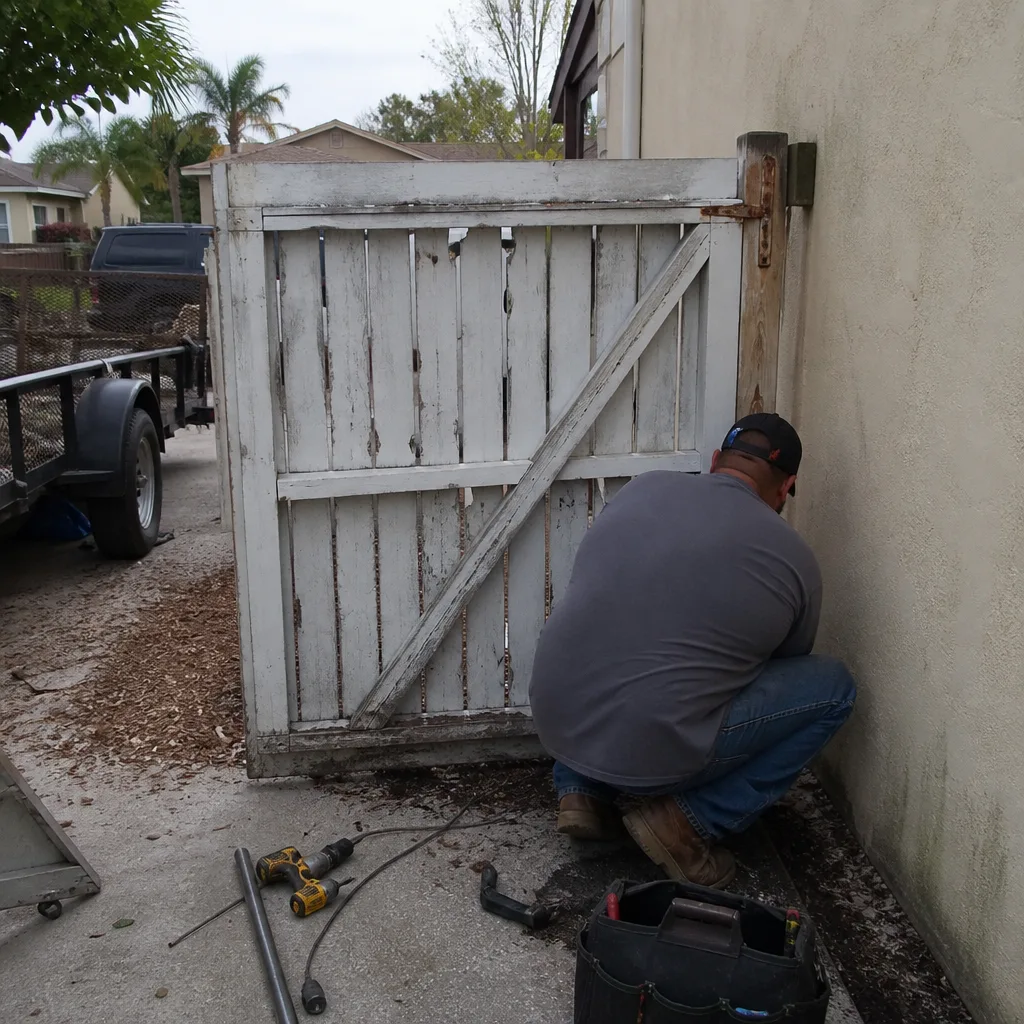 Before
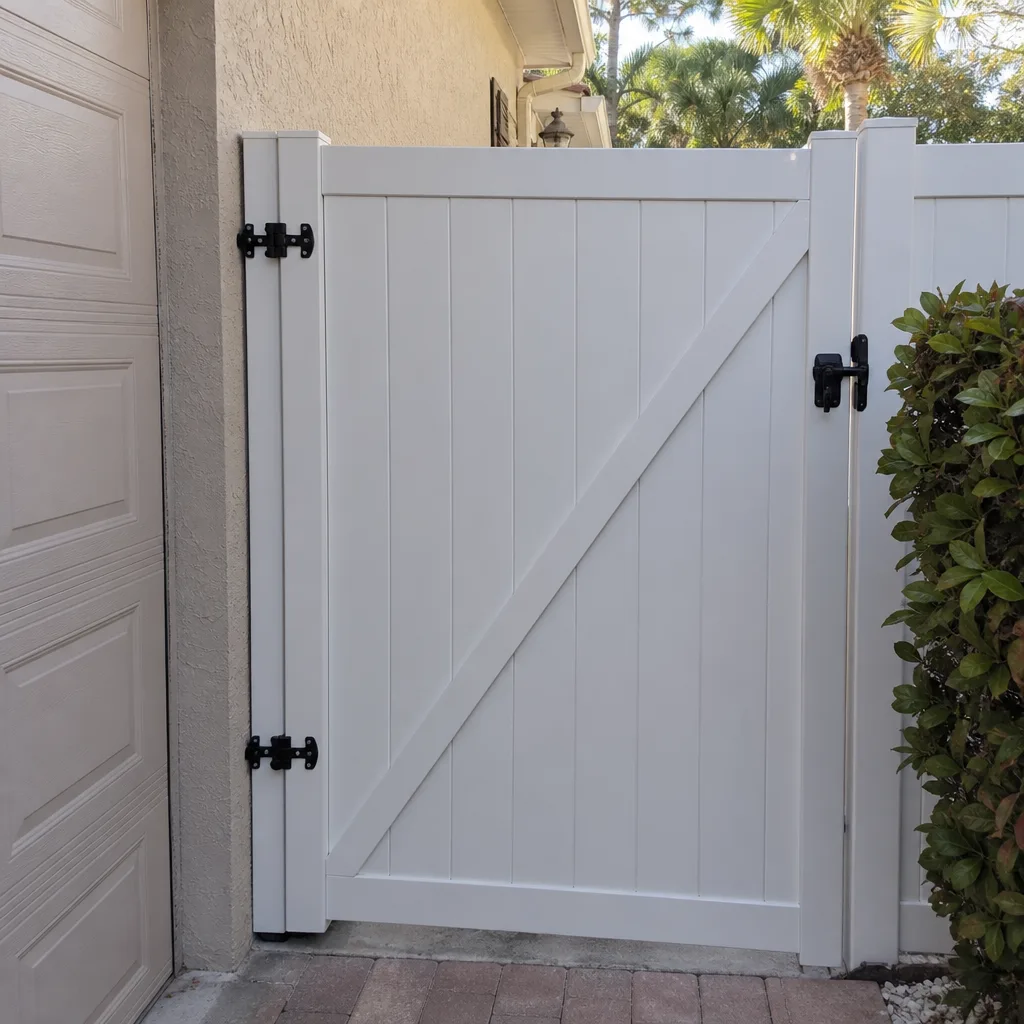 After
After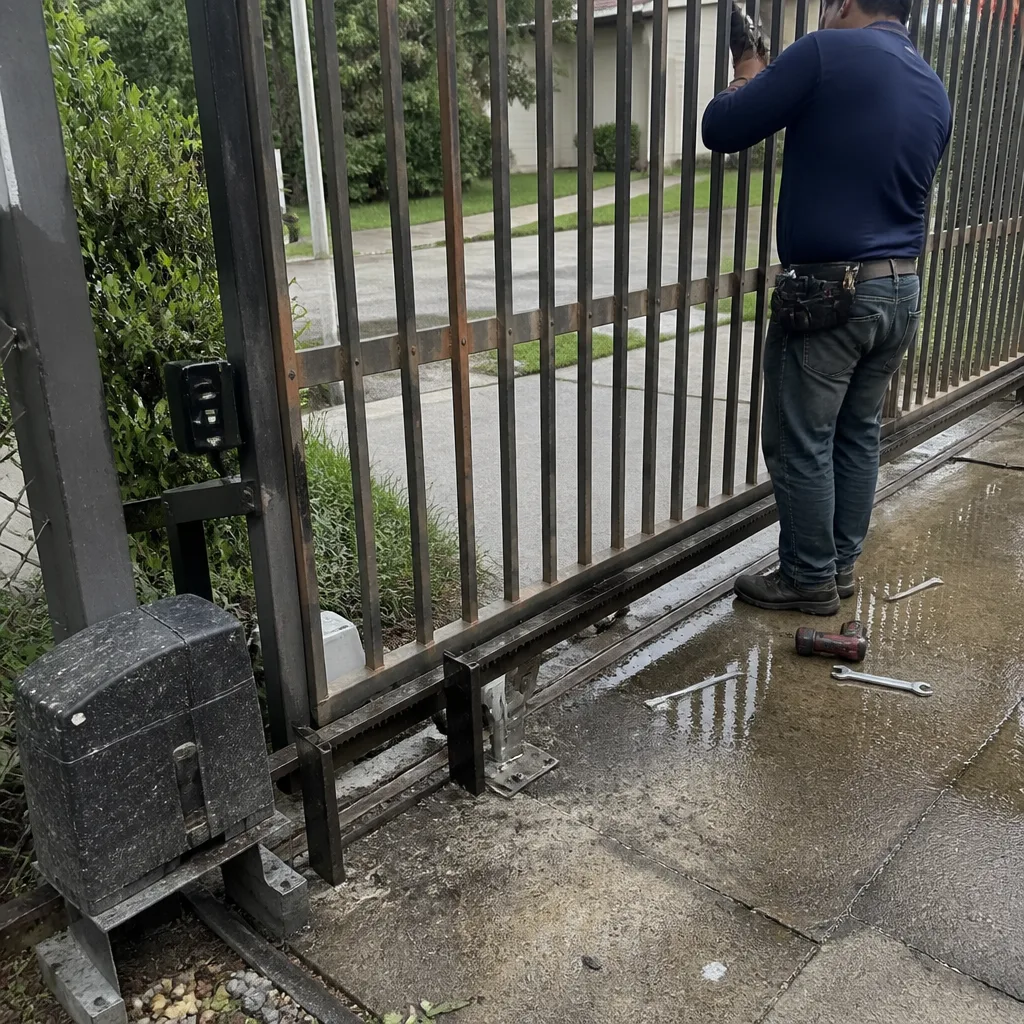 Before
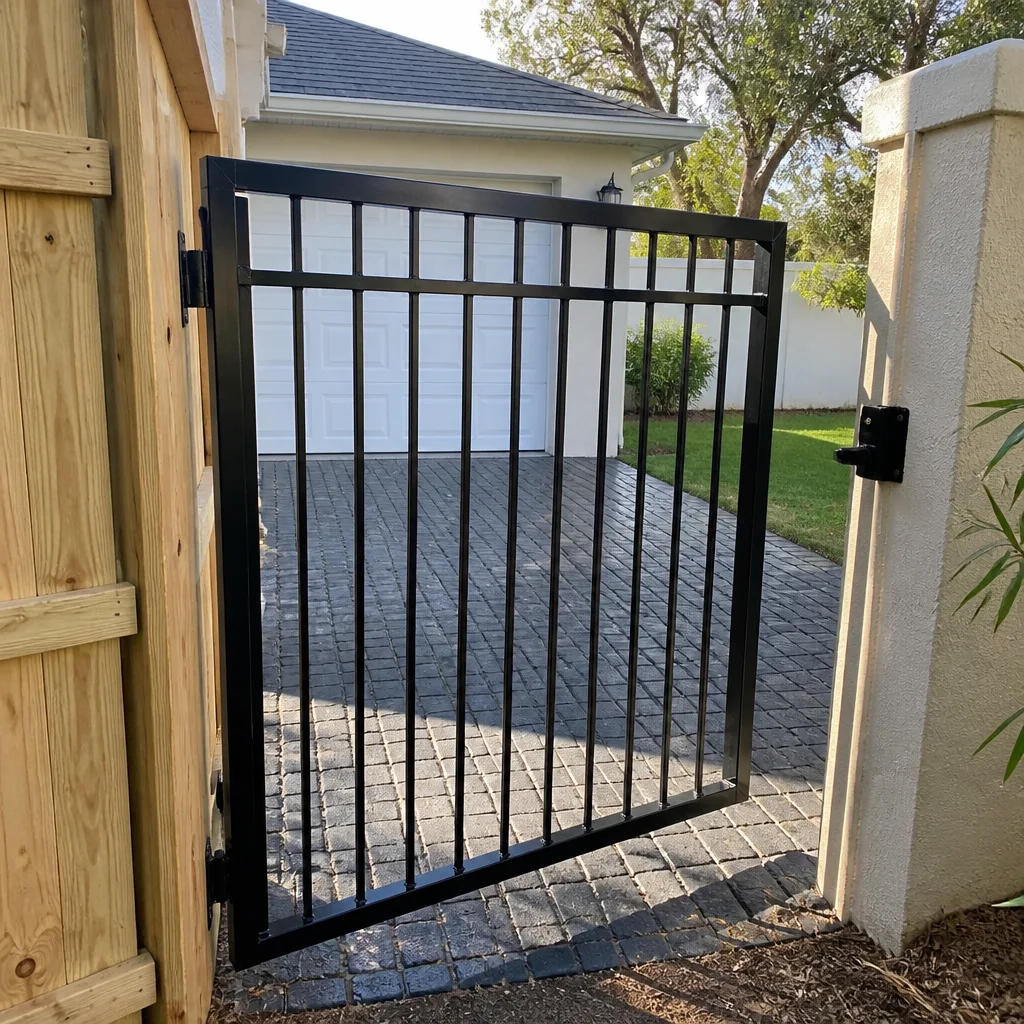 After
After Before
 After
After