
Last updated October 16, 2026
 Wrought iron
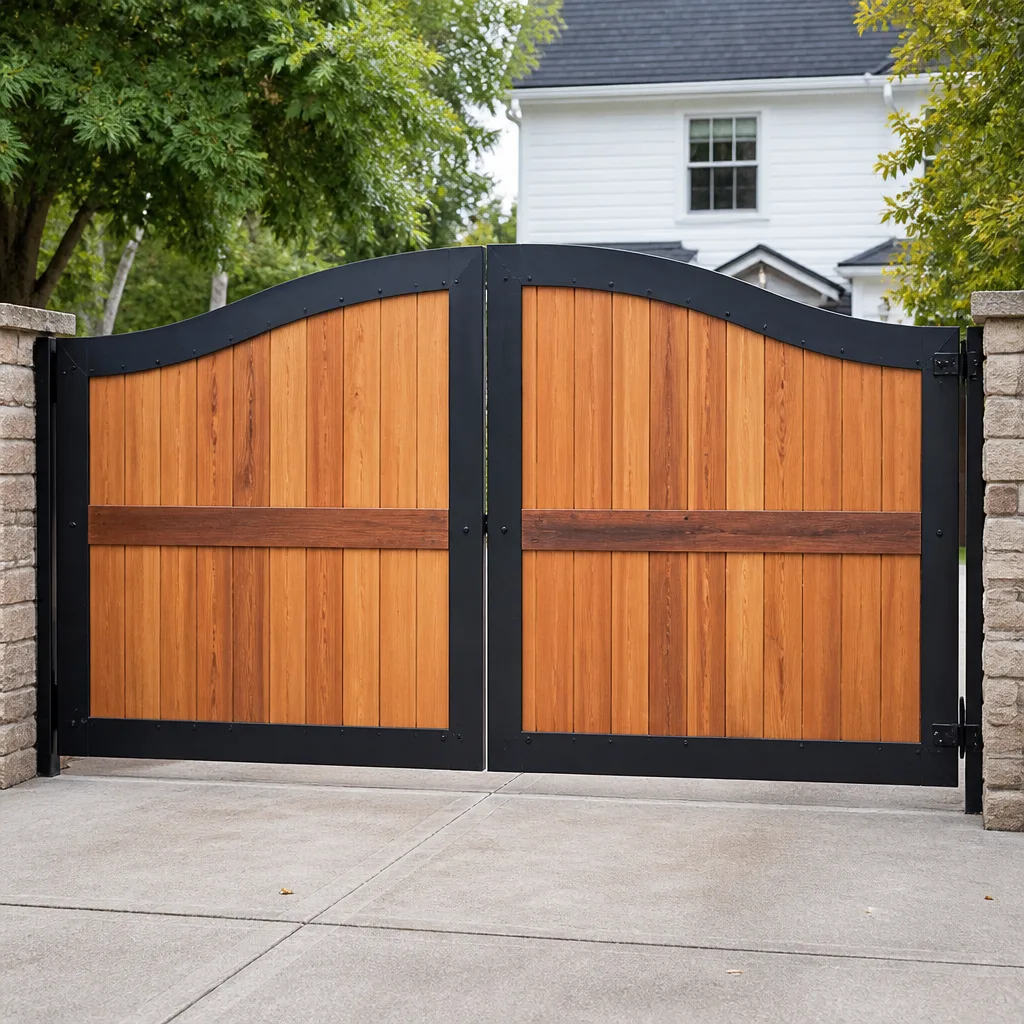 Wood & steel frame
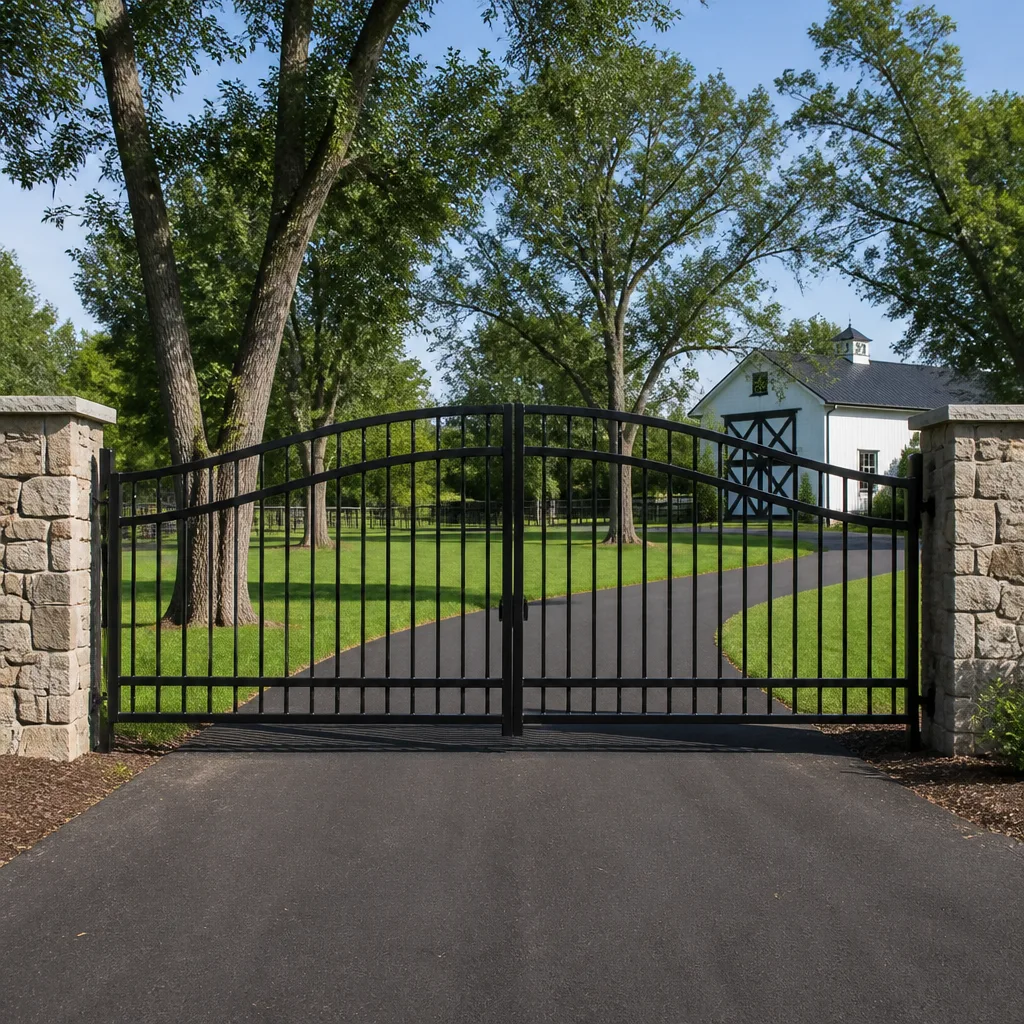 Farm & ranch
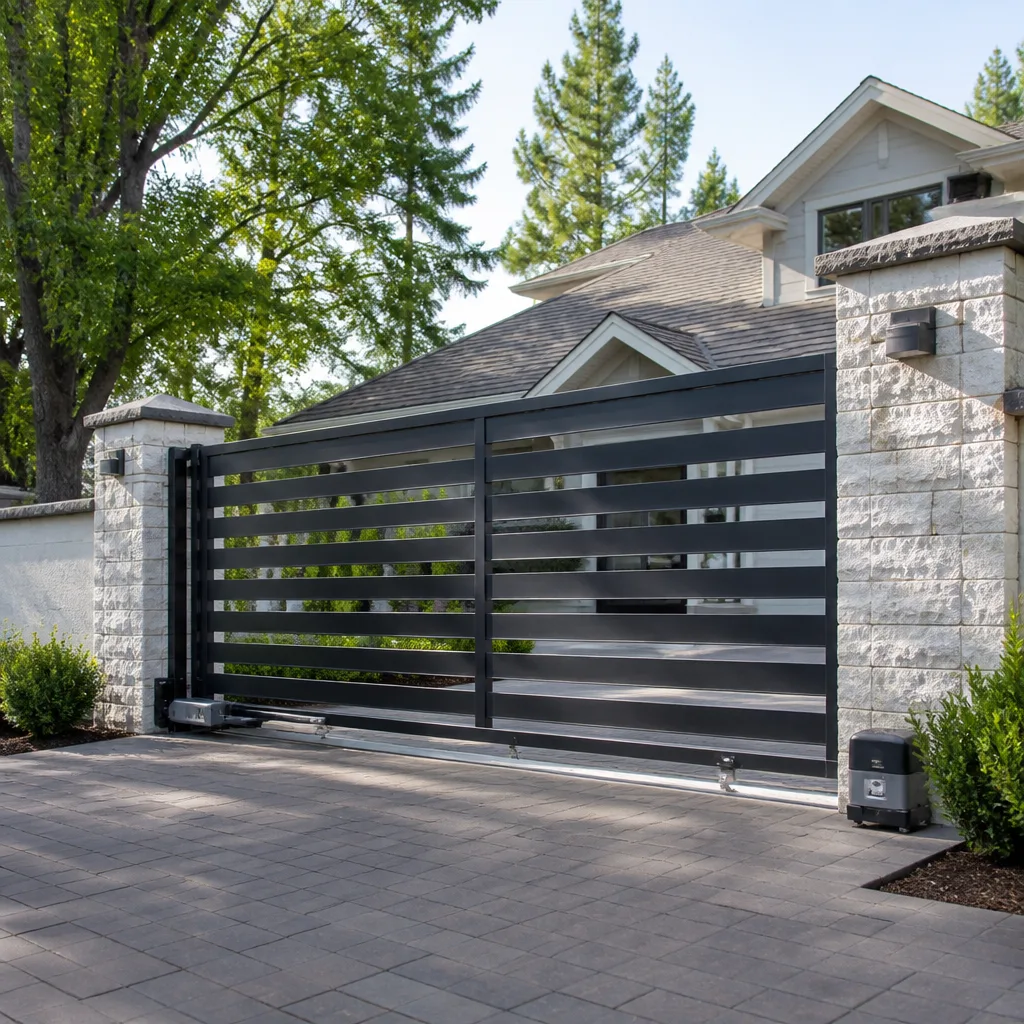 Sliding driveway gates
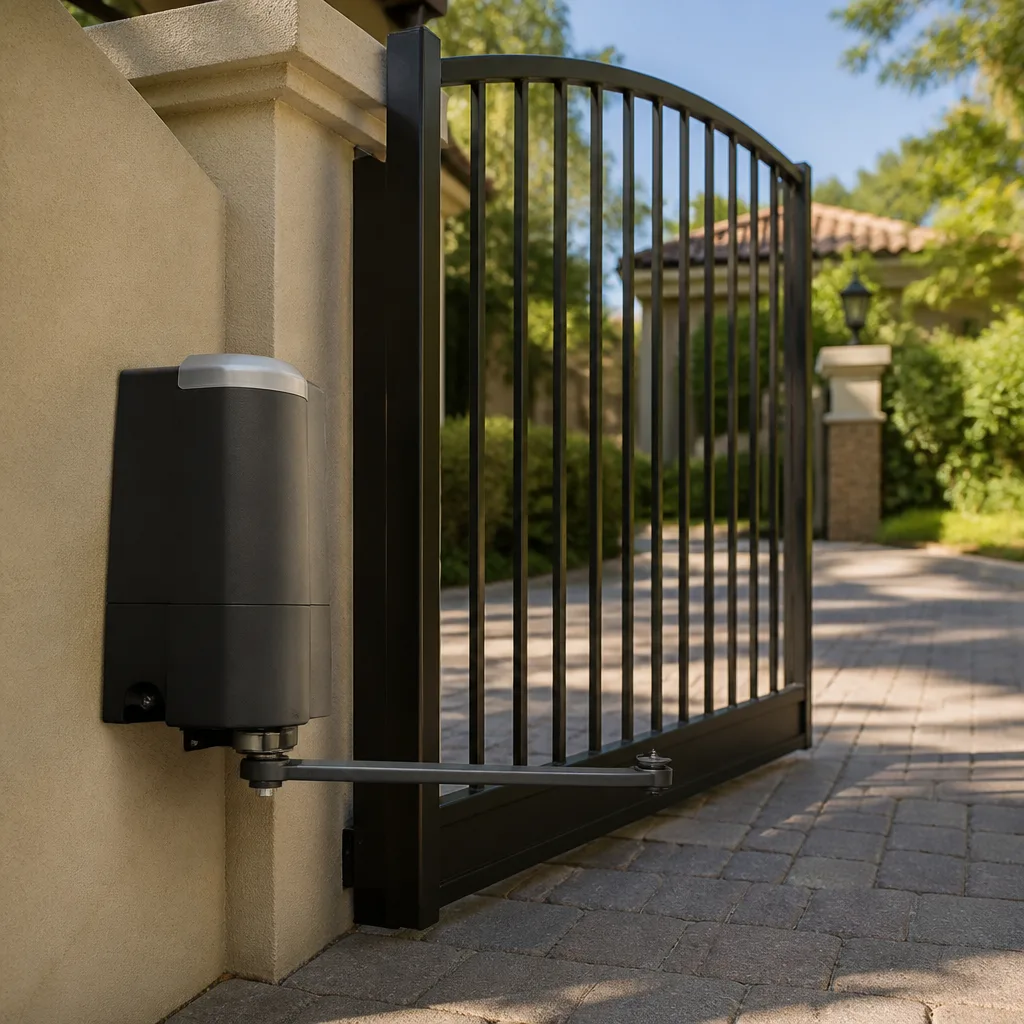 LiftMaster operators
Free on-site gate assessment - hinges, posts, and your LiftMaster or Nice gate operator checked before anything is quoted
The assessment is free and the quote is the invoice.
Get your free estimateGate Repair Maintenance Checklist for Tampa Homeowners
Fire ants destroy more Tampa gate motors than motor wear does. They nest in warm control boxes, chew through wiring insulation, and the damage looks like an electrical fault until you open the housing. Salt corrosion and afternoon thunderstorm surge finish the job. This guide is written specifically for Tampa, not Phoenix or Dallas. It covers what actually breaks on gates in this climate, what to check each month, what to do after a named storm, and when to stop inspecting and start calling a technician who works on FAAC, BFT, Linear, and Viking equipment every single week.
Quick Answer
A Tampa gate maintenance routine should include a monthly visual inspection of the gate path, track, and hinges; a quarterly check of the control board housing for ants and moisture; post-storm checks after any severe lightning event; and twice-a-year lubrication with a marine-grade penetrant on chains and hinges. Most gate failures in Tampa trace back to three causes: water intrusion into control boards, fire ant colonization, and salt corrosion on exposed electrical connections. A disciplined 20-minute monthly routine prevents the majority of breakdowns we see.
Styles & brands we work with
Table of Contents
- Rainy Season Maintenance: June Through September
- Dry Season Maintenance: October Through May
- How to Inspect Control Board Housings for Ants and Moisture
- Lubrication Specs by Component Type for High Humidity
- The Three-Point Post-Storm Check for Tampa Gates
- How to Document Maintenance History for Warranty and Resale
- Common Mistakes to Avoid
- When to Call a Professional
Rainy Season Maintenance: June Through September
Tampa’s rainy season is not a suggestion. From June through September, afternoon thunderstorms roll through four to five days a week, and the humidity sits at or above 80% most mornings. That moisture moves into every crack in a gate system: limit switch housings, control board enclosures, photo eye connectors, and the weep holes that are supposed to drain condensation but often clog with pollen and ant frass instead.
During these months, we recommend a monthly walk-around of at least 20 minutes. It does not require tools beyond a flashlight and a clean rag. It does require consistency.
- Check the track and gate path for debris. Heavy rain pushes leaves, twigs, and sand into slide gate tracks and under swing gate arcs. A gate that travels over debris stresses the gearbox and can burn out a limit switch. Clear the path every month during the rainy season, and after any storm that drops more than an inch of rain.
- Inspect the control board housing for condensation. Look at the weather seal around the housing door. If the gasket is cracked, flattened, or missing, moisture gets in. If you see fog inside the clear cover on the control board, the housing needs attention before the board corrodes.
- Test the photo eyes. Wipe the lenses clean. Rainy season film from road spray and pollen reduces beam strength, which causes the gate to reverse mid-travel or refuse to close. Wipe both the sender and receiver lenses with a dry cloth, not glass cleaner.
- Check the battery backup if the operator has one. Lightning events and storm-related power dips are common in Tampa from June onward. A battery that sits dead all season and only gets noticed when the power goes out is a call for gate motor repair in Tampa that could have been avoided with a simple voltage check.
The rainy season is also fire ant season. Ants move to higher ground after heavy rain, and a warm gate motor housing mounted above the flood line is exactly the high ground they choose. A monthly look inside the housing during these months catches colonies before they reach the point where the board shorts out.
Dry Season Maintenance: October Through May
Tampa’s dry season is relative. It is drier than summer, but the humidity rarely drops below 50%, and salt air from the bay still moves inland several miles. The dry season is the right time for the work that takes longer than 20 minutes: deep cleaning, lubrication, and hardware tightening.
We recommend two comprehensive maintenance sessions during the dry season: one in October as the rains taper off, and one in April before the thunderstorms return. Each session should take about an hour.
- Clean every surface that moves. Wire-brush the slide gate track to remove rust bloom, then wipe it down. On swing gates, clean the hinge pins and the area around them. Dried salt and rust particles act as an abrasive paste that accelerates wear.
- Inspect all electrical connections. Look for green or white corrosion on wire terminals inside the control box and at the motor. Tampa’s salt air corrodes copper connections even in gasketed enclosures. Corroded connections create resistance, which overheats motors and can take out a control board.
- Check the chain or belt tension. A loose chain slaps against the rail and wears faster. A chain that is too tight stresses motor bearings. The correct tension depends on the manufacturer’s spec, but a good rule for slide gates is no more than a half-inch of deflection at the midpoint.
- Lubricate per the component list below. Dry season is when lubrication sticks. Applying lubricant during the rainy season just means washing it off in the next storm.
- Test the safety reversal. Place a solid object in the gate’s path and confirm the gate stops and reverses. This is an operator function, not a mechanical one, and it needs testing twice a year minimum. If the reversal does not respond correctly, stop using the gate and schedule service. Our gate repair in Tampa team handles this exact issue frequently.
Dry season is also when Tampa homeowners notice cracked concrete pad anchors and sagging hinges, because the ground contracts slightly as it dries. If a swing gate drags in October but not in July, the issue is not the gate. The pad has settled or the hinge bracket has loosened. Address it in the dry season before the structure shifts further.
How to Inspect Control Board Housings for Ants and Moisture
The control board housing is the most failure-prone component on a Tampa gate. It combines three things ants and corrosion love: warmth from the transformer, darkness, and an entry point in the form of conduit knockouts and wire penetrations. A generic gate maintenance checklist skips this entirely. Here is what to actually look for.
Before opening the panel:
- Look at the bottom of the housing. Ants build soil tubes along conduit and up into the box. If you see dirt trails on the exterior of the housing or the conduit, ants are already working inside.
- Check the gasket line. A healthy gasket sits proud of the door edge and feels springy. A flattened gasket with cracks or tears is no longer sealing. Replace it.
- Look for rust streaks below the door. Rust weeping down the housing side means water has been pooling inside. The board may already be compromised.
When you open the panel:
- Look for moisture first, not ants. If the board looks damp, or if there are water spots on the inside of the cover, the housing is compromised. Do not touch the board with a bare hand. Moisture plus line voltage is a risk. Call a technician.
- Check for ant frass. Frass looks like coarse coffee grounds or fine dirt piled in corners and along wire insulation. Ants bring soil into the box to build nests. Frass is the first visible sign, often before live ants appear.
- Inspect wire insulation for chewing damage. Ants strip insulation on low-voltage wires and sometimes on line-voltage connections. Bare copper inside a control box is an arc hazard and a short waiting to happen.
- Check for corrosion on the board itself. Look for white or green fuzz on solder joints and terminals. This is salt and humidity damage. A board with visible corrosion is not repairable in most cases; it gets replaced.
If you find ants, do not spray insecticide into the housing. Chemical sprays land on the board, the relays, and the wire insulation, and several common products degrade plastics. A better approach is a dry removal of the nest material, followed by sealing the entry points around conduit and knockouts. If the board has already failed, that is a gate motor repair call, and the technician will address the ant entry during the repair.
Lubrication Specs by Component Type for High Humidity
Not every moving part on a gate takes the same lubricant. Using the wrong product is worse than skipping lubrication in some cases, because it creates a sticky film that holds salt and sand against the metal. In Tampa’s humidity, that film stays wet and becomes an abrasive slurry.
Here is the spec we use, by component:
- Roller tracks (slide gates): Do not grease the track. Grease on a horizontal track holds grit, and the gate rolls that grit into the bearing surface. Use a dry silicone spray or a light machine oil wiped to a thin film, then wipe off the excess. The goal is corrosion protection on the metal, not a wet film the rollers ride through.
- Hinge pins (swing gates): Apply a marine-grade white lithium grease in a thin coat to the pin, then work the gate through a full arc several times. Wipe away what squeezes out. In Tampa’s salt air, a marine-grade product is the difference between a hinge that lasts ten years and a hinge that seizes in three.
- Chain drives (slide gates): Use a chain-specific lubricant that dries to a tacky film, not a wet oil. A dry-film chain lube stays on the chain in rain and does not fling off onto the driveway. Apply sparingly to the inside of the chain while rotating the gate manually, then wipe the outside of the links.
- Gate operator worm gears and gearboxes: These are sealed in most modern FAAC, BFT, and Linear operators. Do not open the gearbox to add grease. Check for oil seepage at the seams instead. If the gearbox is leaking, the seal has failed, and the unit needs service.
- Limit switch levers and actuator arms: A single drop of light machine oil on the pivot points every six months is enough. More than that attracts dust and creates the sticky film problem.
The most common lubrication mistake we see in Tampa is a homeowner soaking the track in WD-40. WD-40 is a water displacer, not a long-term lubricant. It evaporates within days and leaves the track dry. Use the product matched to the component, or call us and we will do it during a gate installation or service visit.
The Three-Point Post-Storm Check for Tampa Gates
Tampa sits in the lightning capital of the United States. The corridor between Tampa and Orlando records more cloud-to-ground strikes per square mile than nearly anywhere else in the country. A severe lightning event, even without a named storm, can induce current through a gate operator’s control board and take out the limit switch logic, the receiver, or the board entirely. After any named storm or significant electrical event, run this three-point check.
- Cycle the gate through three full open/close operations while watching it travel. Listen for hesitation, grinding, or a pause mid-travel that was not there before. A board damaged by a surge often fails first in the limit functions, which shows up as the gate stopping short or overshooting. If the gate behaves differently than it did before the storm, do not keep cycling it. Continued operation on a failing board can burn out motor windings.
- Open the control housing and look for moisture. Storm surge is not only a coastal problem in Tampa. Heavy rain driven by high wind pushes water through gaskets that held fine in normal conditions. Check the inside of the housing cover for water spots, and check the bottom of the enclosure for standing water. A small amount of moisture needs to be dried out, the gasket inspected, and the interior cleaned. Standing water means the housing needs new seals or relocation.
- Check the gate’s physical alignment. High wind can push a swing gate against its stops hard enough to bend the hinge brackets. Debris carried by flood water can warp a slide gate track or jam the end stops. Walk the full gate path, look at the track from both ends, and confirm the gate still sits level. A gate that is out of alignment stresses the motor on every cycle and will fail the safety reversal test.
If any of these three checks turns up an issue, stop using the gate in automatic mode. Switch the operator to manual release if your system has one, and call for service. Post-storm damage is often subtle until a component fails catastrophically. The homeowner who checks after the storm is the homeowner who catches a $180 limit switch instead of discovering a $900 board replacement three weeks later.
How to Document Maintenance History for Warranty and Resale
Maintenance documentation matters for two reasons that have nothing to do with feeling organized: warranty claims and resale disclosure. A gate operator manufacturer may deny a warranty claim if the failure is attributed to neglected maintenance, and the burden of proof sits with the homeowner; see our Gate Repair Permits, Codes & Inspections in FL: What You Need to Know for related compliance details. On the resale side, Florida law requires sellers to disclose known defects, and a documented maintenance history is direct evidence that a gate system was cared for.
What to record:
- Date of each inspection and what was checked. A one-line note is sufficient, but the note must be specific. “Checked track, hinges, control board, photo eyes” is better than “monthly check.”
- Any lubrication performed, with the product name. If someone later claims the wrong product caused a failure, the record shows what was actually applied.
- Any abnormal findings and what was done about them. “Found ant frass in control housing; removed nest material; sealed conduit gap” is a defensible entry.
- Any service visits, with the technician’s name and the work performed. Keep the invoice.
- Photos of the control board, housing, and gate path, taken on your phone and dated. Photos are hard evidence.
Where to keep it:
A paper log stored in the control housing is not useful, because the housing is exactly the environment that should stay closed. Keep a digital file, either a notes app entry or a shared document, and include photos alongside the written entries. If the gate is part of a home sale, this file transfers with the house and answers the questions a buyer’s inspector will ask.
For homeowners in Tampa, this documentation also supports insurance claims after storm damage. Hurricanes and lightning are covered perils under most Florida homeowners policies, and a dated maintenance record showing the gate was in working order before the storm strengthens the claim.
Common Mistakes to Avoid
- Greasing a slide gate track. A greased track collects sand and shell grit from Tampa driveways and turns it into grinding paste. Use a dry silicone film or nothing on the track itself.
- Spraying insecticide inside the control housing. Ant killer chemicals corrode circuit boards and degrade wire insulation. Remove the nest dry, seal the entry points, and keep chemicals out of the enclosure.
- Ignoring a gate that gets slower during the rainy season. A gate that lags in June is often a failing capacitor or a corroding connection, not an effect of humidity. The problem does not fix itself when October arrives.
- Skipping the safety reversal test because the gate “sounds fine.” The reversal function exists to prevent entrapment, and a gate that closes on an obstruction is a liability. Test it twice a year. If it does not reverse, stop using the gate.
- Leaving the operator in manual mode after a storm. Manual mode gets the gate open when the power is out, but leaving it there means the gate does not lock and the safety functions are disengaged. Return the operator to automatic as soon as conditions allow.
- Using household oil on hinges and then wondering why they seize. Household oil washes off in Tampa rain and provides no salt protection. Use a marine-grade lithium grease on hinge pins.
- Opening the control panel for the first time only after the gate stops working. By the time a board fails from ant damage or corrosion, the damage has been building for months. Monthly housing checks catch it early.
When to Call a Professional
Run through this checklist and handle what you can see and reach from the ground. Call a professional when the issue involves line voltage, a control board that has visible corrosion or ant damage, a gearbox that is leaking, or a gate that no longer reverses on obstruction. These are not adjustments. They are repairs with safety implications, and they get worse with use.
Carver Gate Repair Tampa works exclusively on gate systems and motor equipment across nine major brands, including FAAC, BFT, Linear, and Viking. Every repair includes a written price before work starts, a written guarantee good for a full year, and background-checked, uniformed technicians. If a repair fails inside that year, the second visit is free. Carver Gate Repair Tampa offers free estimates in Tampa. Call (850) 533-8293 and a live person answers, any hour, any day.
See the difference
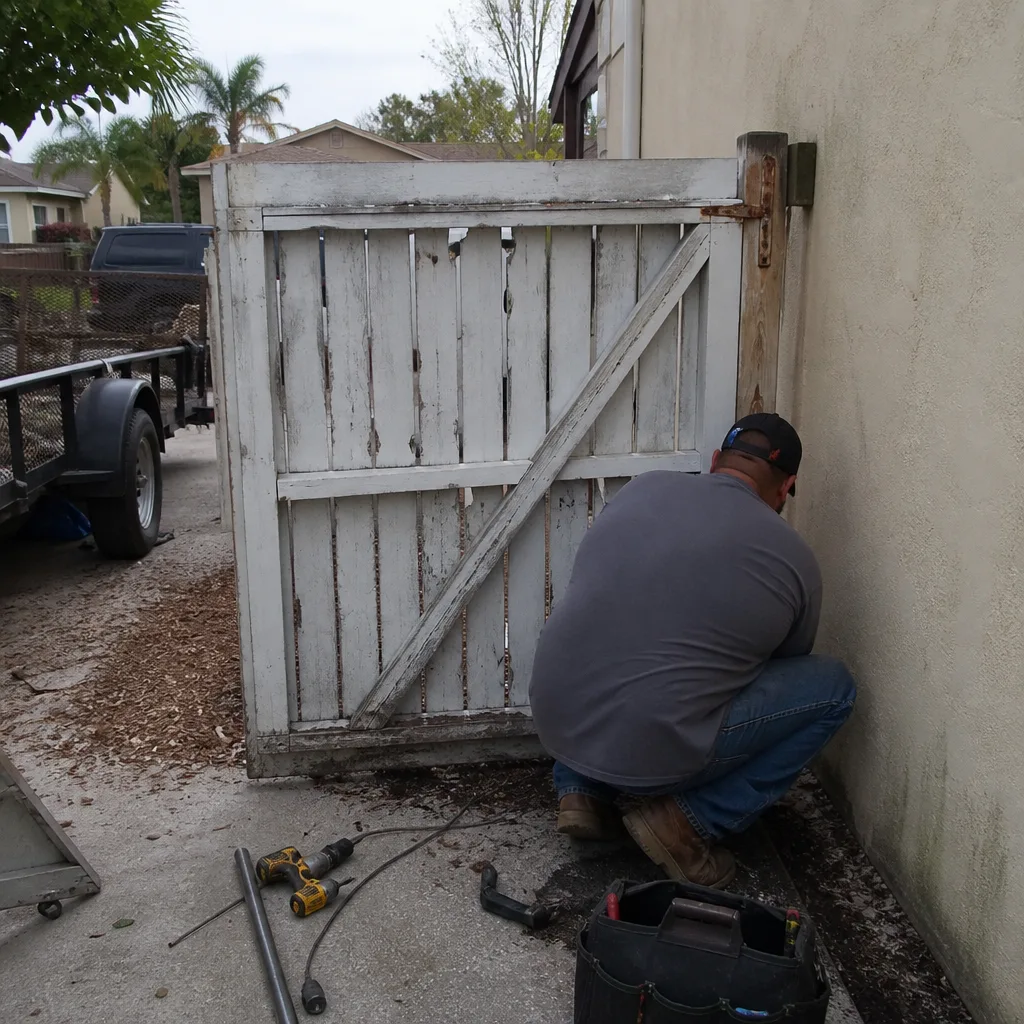 Before
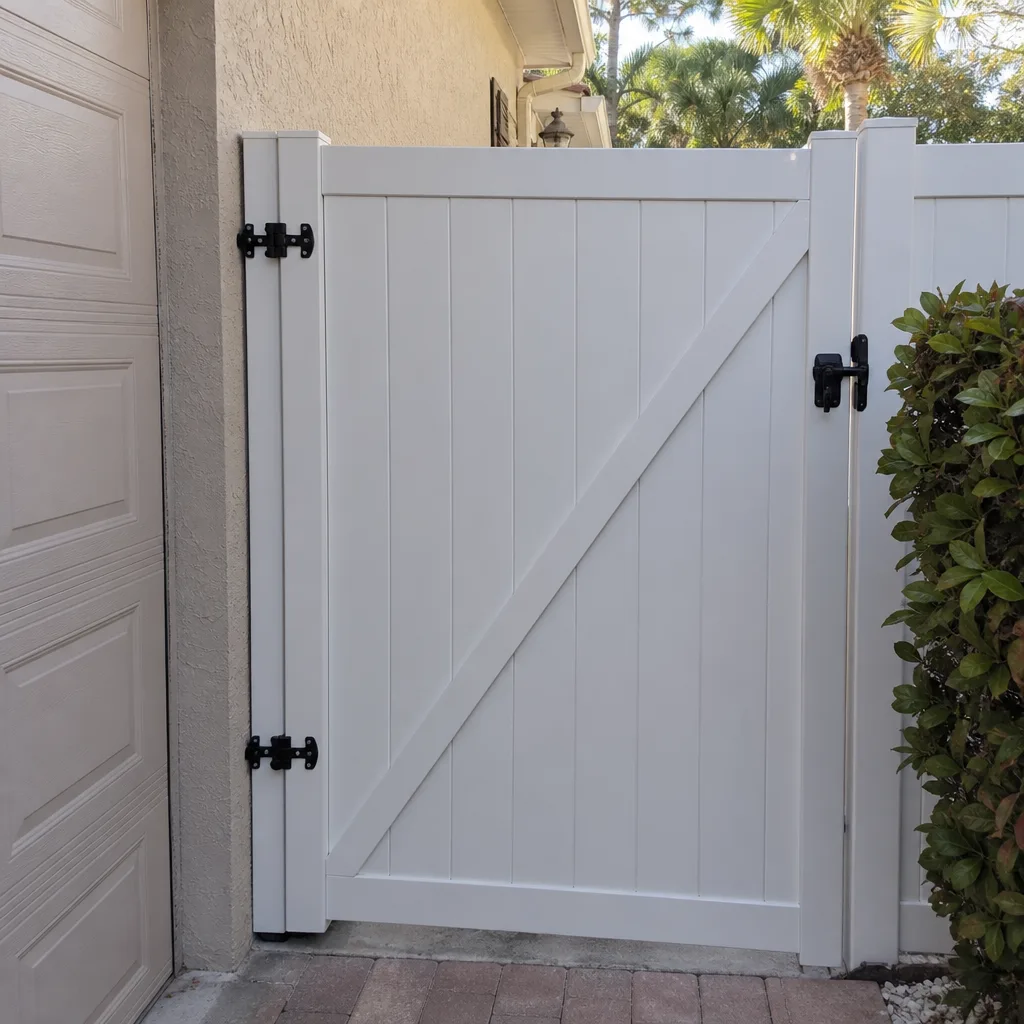 After
After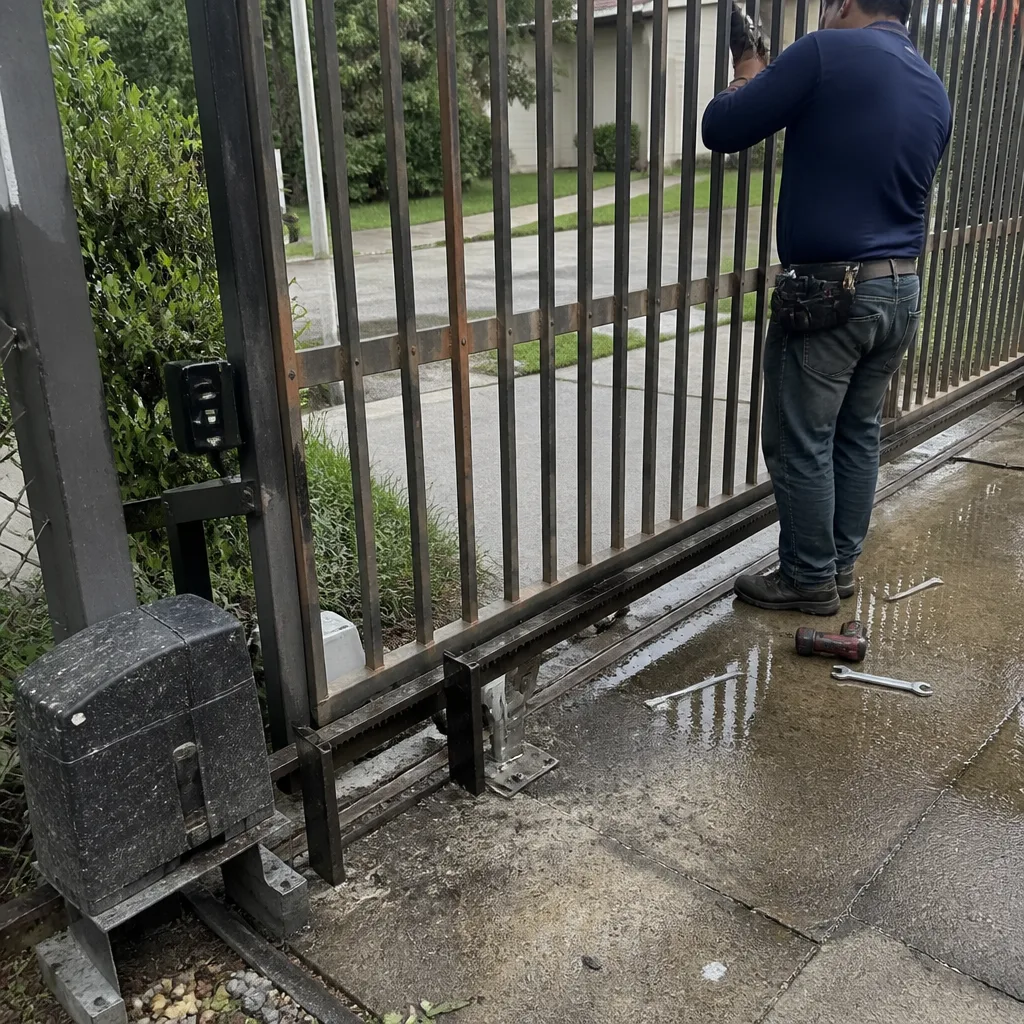 Before
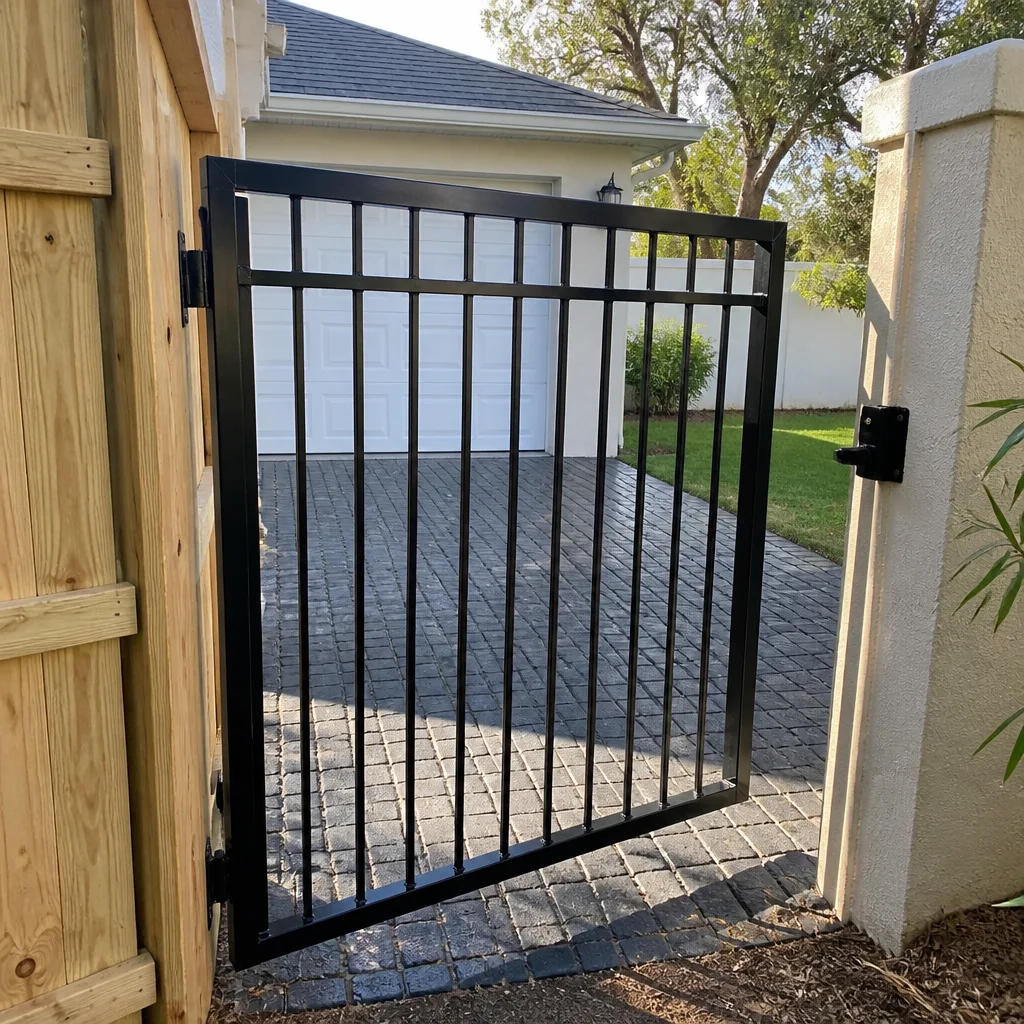 After
After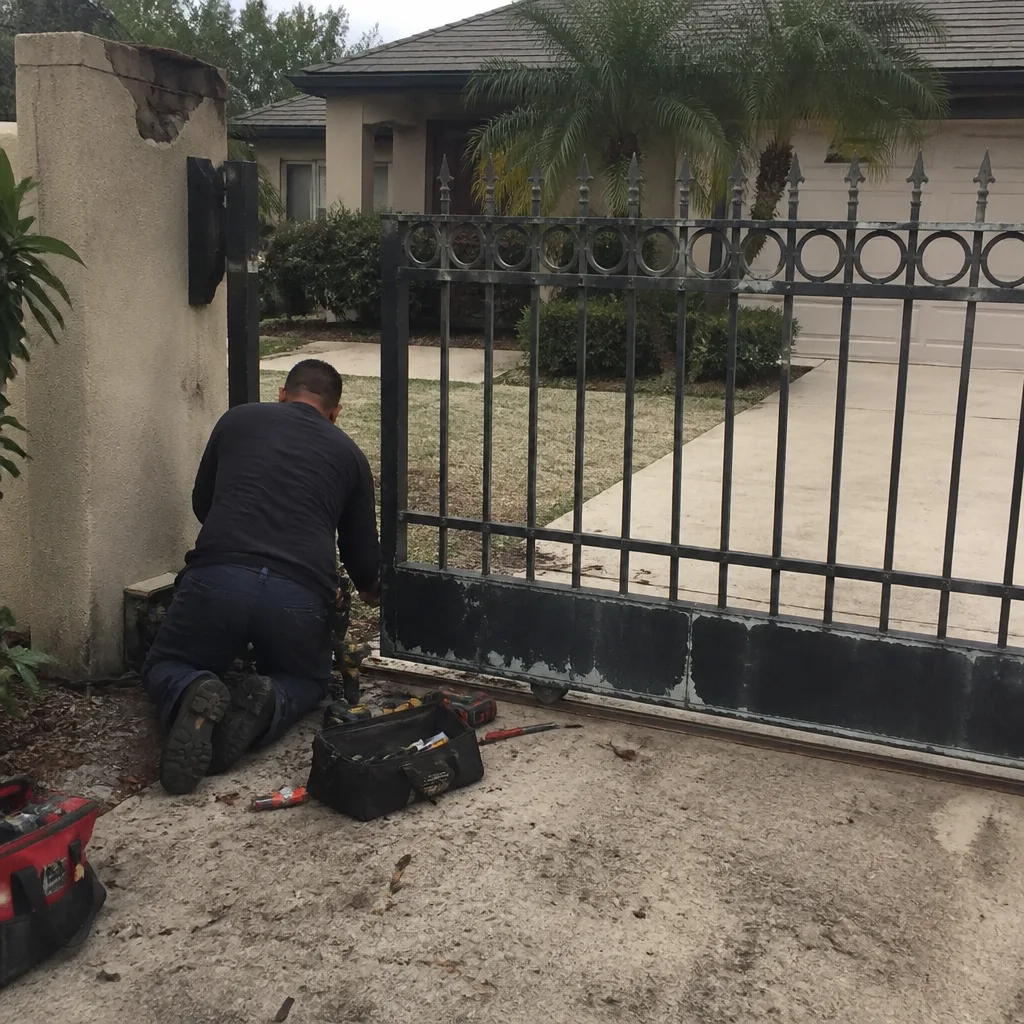 Before
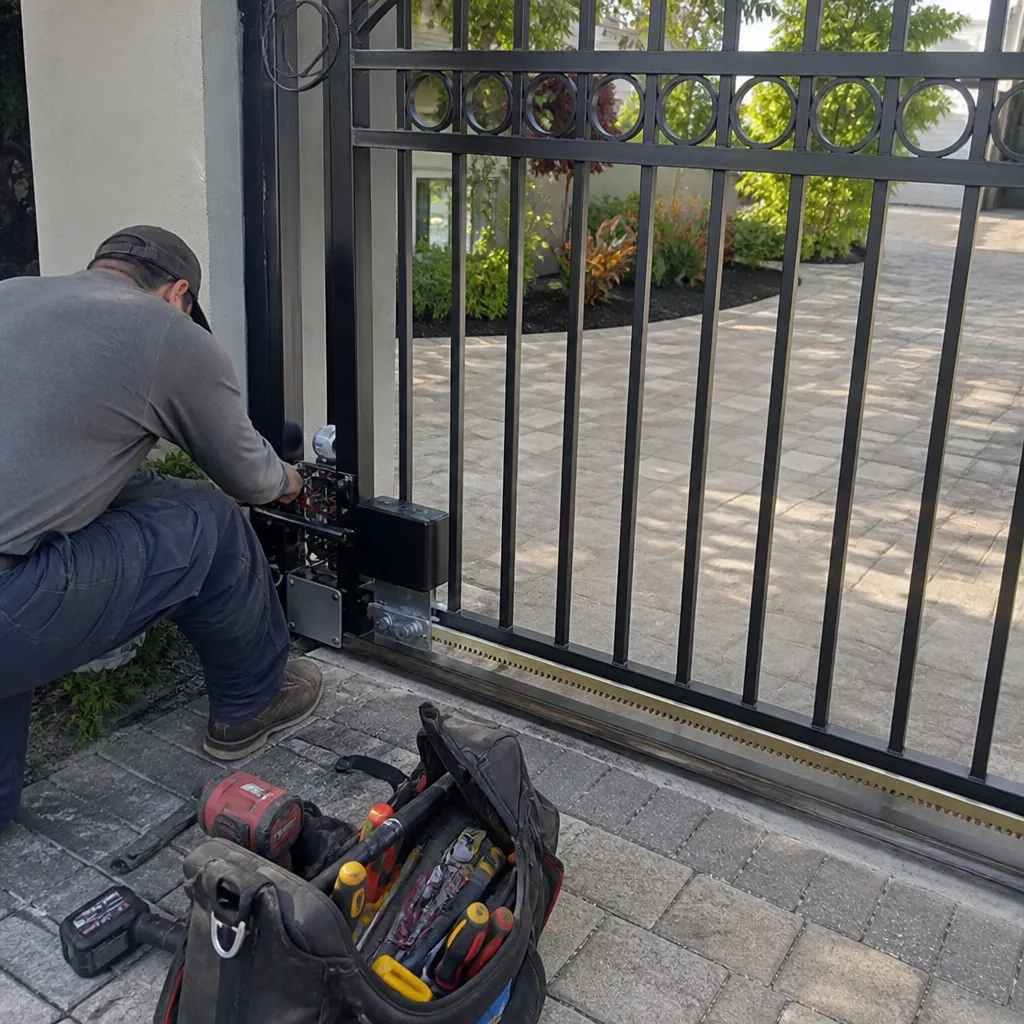 After
AfterFrequently Asked Questions
Gate repair in Tampa typically runs $150 to $400 for common issues like limit switch replacements, photo eye realignment, and control board diagnostics. Motor replacement is higher, usually $600 to $1,800 depending on the operator brand and whether the existing mounting hardware can be reused. Our Gate Repair services include a written price before work starts, so the number on the quote is the number on the invoice.
Lubricate hinges, chains, and pivot points twice a year in Tampa, once in October and once in April. The dry season timing means the lubricant stays on the metal instead of washing off in afternoon thunderstorms. If your gate faces the bay or sits within a few miles of salt water, add a third lubrication in February and inspect electrical connections more frequently.
Carver Gate Repair Tampa dispatches repair technicians throughout Tampa, and many jobs are completed the same day the call comes in. Phones are answered by a live person 24/7, including weekends and holidays. Call (850) 533-8293 and describe what the gate is doing, and we will give you a straight answer on timing and a written price before any work starts.
A full gate installation in Tampa includes the gate structure, hinges or track, operator and control board, photo eyes, safety edges where required, and the electrical run from the power source to the operator. Site work like concrete pads and post footings is part of the job when needed. Carver provides a free measure and a written price for the complete installation, so the quote covers the entire scope.
Yes. Electrical runs, conduit, photo eyes, safety edges, and loop detectors are all part of a proper gate installation, not add-ons. Carver Gate Repair Tampa technicians handle the full package, trained on FAAC, BFT, Linear, Viking, and the other major operator brands. The safety systems are tested before the job is closed and are covered by the same written guarantee as the rest of the installation.
Run the three-point post-storm check: cycle the gate and listen for changes, open the control housing and look for moisture, and check the gate’s physical alignment. If any of those checks shows a problem, stop using the gate in automatic mode and call (850) 533-8293. Storm-related electrical damage in Tampa often needs a professional diagnosis, and the longer a damaged board runs, the more components it can take with it.
The Bottom Line
A Tampa gate fails from the environment more often than it fails from age. Fire ants in the control housing, salt corrosion on connections, and water intrusion during the June-through-September rainy season do the damage. The fix is a monthly 20-minute inspection, lubricant matched to each component, and a disciplined post-storm check. Document what you do. Test the safety reversal twice a year. And when the problem is electrical or inside the housing, call a technician who works on this equipment daily. Your gate will last longer, your warranty will hold, and the repair bill will be smaller than the one your neighbor pays for ignoring the same 20 minutes. For more guides & resources, visit our blog.
Written by Lonnie Burke, Owner at Carver Gate Repair Tampa, serving Tampa since 2008.